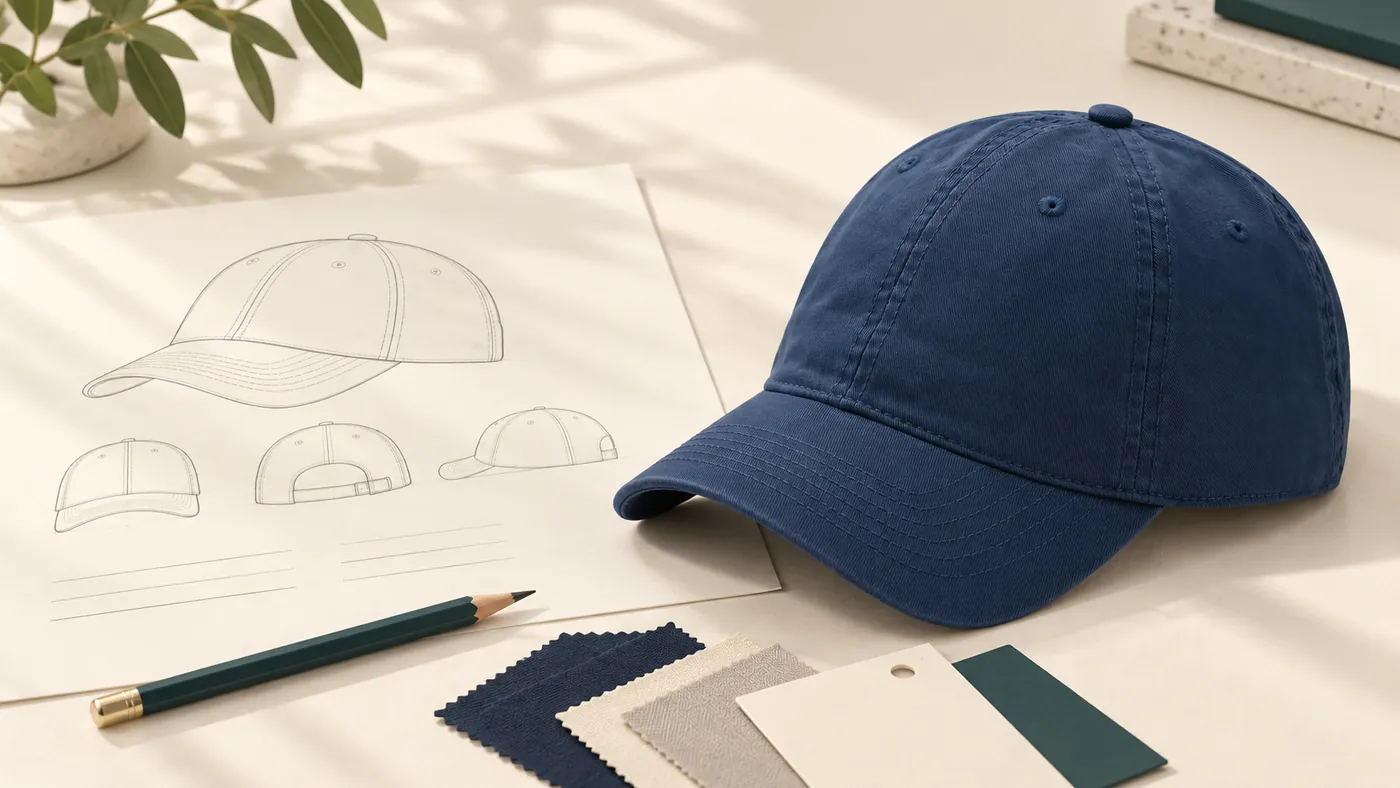
A useful hat RFQ tells the supplier which hat you want to discuss, what must change, how the quantities are divided and which decisions still need an answer. It does not have to be a finished technical package. It should, however, make the difference between a requirement, a preference and an open question easy to see.
For overseas business buyers, the aim is to turn a product link or a drawing into a brief that can support a project quotation and a meaningful sample review. Relia Hats develops custom hats from customer requirements or drawings, with customer-specified materials and customer logos. The guide below shows how to organize that discussion without treating an initial reference as an already approved order.
1. Identify the exact starting reference
Begin with the specific catalogue link or your own drawing. A message such as “quote a black trucker cap with our logo” leaves several possible interpretations: the crown shape, panel arrangement, mesh position, brim curve and rear construction may all differ. A reference helps establish a shared starting point, but a link alone cannot explain which features matter to your design.
Add a short note identifying what to retain and what to develop. For example: “Keep the general crown and brim direction; discuss a different material and a side logo.” If several images are included, label the role of each. One image may explain the shape, another the colour arrangement and another the artwork position. Do not leave the supplier to decide which image takes priority when they show different details.
For a drawing-led project, show the views that explain the design. Front, side, back and underside views can reveal different requirements. Mark important dimensions and identify the units. If a detail is only a visual idea, label it as a preference for discussion rather than presenting it as an accepted construction.
2. Separate fixed requirements from options
A brief becomes easier to review when it uses three clear categories: required, preferred and to confirm. Required items describe the design you need the quotation to address. Preferred items identify a direction that may be compared with alternatives. Open questions show where you want advice, evidence or a sample decision.
Suppose your brand needs its exact wording on the front of the cap but is still deciding between direct embroidery and a patch. Keep the wording and intended location under requirements. Put the decoration direction under options. Then ask what must be reviewed on the selected fabric before the method can be confirmed. This preserves the essential design without pretending the production detail is settled.
Use the same approach for materials. A customer-specified composition may be fixed, while thickness or surface finish is still open. If the material itself is undecided, describe the appearance and use you want to discuss. Avoid quietly turning an unresolved preference into a blanket request for “best quality”; the phrase gives little guidance about the characteristics that should be compared.
3. Give materials and construction their own fields
Keep fibre composition separate from fabric construction. Cotton or polyester describes a fibre reference; twill, canvas, mesh and terry describe other aspects of the material. A complete cap also contains components such as the lining, band, brim structure and fastening. One main-fabric description does not automatically describe all of them.
List the material requirement and its component location. If you specify a crown fabric, identify the mesh separately. If the appearance involves a washed, distressed or suede-style finish, ask for the actual construction and the area to which it applies. For a physical reference, explain whether it represents colour, texture, thickness or another characteristic.
Describe the shape in a separate construction field: panel layout, crown profile and depth, brim curvature and projection, support and rear arrangement. These decisions should be read together, but they should not be hidden inside a single material label. The materials and construction guide provides a concise framework for organizing these points.
4. State what the size information actually measures
A size entry should identify whether the measurement describes the wearer's head or the finished hat. Agree the measurement path, units and tolerance, and connect the result to a particular requested configuration. Crown depth and brim dimensions can also matter to the design even when two caps share a circumference reference.
One Size, Adjustable and Custom Size are useful ordering descriptions, but they do not replace a measured fit requirement. If several reference ranges are shown, ask which one applies to the selected cap. Do not combine separate entries into one larger adjustment range. Review the actual fastening, its travel and engagement, and contact with the intended wearer.
Where a project includes different wearer groups, give each size its own row and review requirements. An adult, child or baby label does not by itself settle age suitability or fastening and accessory construction. Keep those questions attached to the relevant sample. Use the fit specification guidance to keep body measurements and finished-cap measurements distinct.
5. Turn the logo request into an approval item
Send the artwork you want reviewed and give the file a clear revision name. State the wording, the proposed width and height, the colour reference and the intended location. A marked view showing the distance from a seam or the brim join is more useful than a note saying “place the logo in the usual position.”
If you have a preferred method, include it. If you are comparing embroidery, printing and a patch, describe the appearance you want to achieve. The actual cap surface and artwork size must be reviewed before a method is confirmed. A patch also needs its own material, shape, edge, backing and attachment brief.
Keep secondary logos visible in the RFQ. A side mark may use a different size or colour from the front design. A rear logo may interact with a fastening. Record each location and artwork version separately, then review the complete hat. The sample and artwork approval route explains how these choices stay connected to the accepted revision.
6. Build a quantity matrix: a hypothetical buyer example
The following example is entirely illustrative. Its quantities are buyer planning figures, not Relia Hats order minimums, stock availability or a quotation. Imagine a retailer preparing one mesh cap design in two colour arrangements, with one shared logo revision. The buyer wants the same general shape in both arrangements but has not yet confirmed the final fabric and adult fit.
| Illustrative line | Colour arrangement | Size requirement | Buyer planning quantity |
|---|---|---|---|
| A1 | Dark crown / light mesh | Adult fit to be measured and approved | 120 |
| A2 | Light crown / dark mesh | The same intended wearer group; verify the selected configuration | 80 |
The table gives a total of 200 hats, but its real value is the split. The supplier can see that the colour arrangement changes while the artwork revision stays the same. The two arrangements must remain distinct: reversing crown and mesh colours does not create the same configuration.
Below the table, the buyer might add: “Logo file Brandmark-v3; proposed front width to be reviewed on the selected panel layout. Customer-specified crown fabric to confirm by component. Please identify the sample scope and the measurements needed to approve adult fit.” This combines a clear request with named open questions. It avoids inventing a decoration limit or assuming that one sample automatically approves every variation.
7. Explain destination, timing and packing priorities
Include the country and city of destination, and identify any delivery or packing requirements that affect the project discussion. If you have a target date, say which milestone it describes. A date for sample review, a requested dispatch date and a required arrival date are different pieces of information.
Ask for the applicable schedule and delivery arrangements in the quotation. A target date in your inquiry is a request to review, not an agreed promise. Likewise, do not assume that a catalogue reference establishes a universal sample fee, minimum quantity, packing method or production time. Those details should be confirmed for the selected materials, decoration, quantities and destination.
Describe packing priorities plainly, such as keeping different size or colour lines identifiable. If a shape must be preserved, identify the feature that needs attention and ask how it will be addressed. Avoid assuming foldability or a specific packing arrangement from a product photograph.
8. Make performance questions product-specific
Tell the supplier how the hat will be used and which result matters to your buyer. “Outdoor use” is broad. A request involving airflow, water resistance, drying or sunlight protection needs a more precise question about the actual construction, intended conditions and applicable evidence.
Visible mesh and laser-cut holes are construction features. They can be described and inspected without assuming a tested performance level. If a particular claim is essential, request the test method, result, limits and components or configuration covered. Keep that evidence connected to the hat being quoted and sampled, including any treatment, seams and decoration.
This approach makes the inquiry more useful without turning it into a page of warnings. Put the evidence requirements beside the related design decision. A material or logo change can then be reviewed for its effect on the requirement instead of disappearing into a general notes field.
9. Turn sample feedback into a clear revision record
Once the sample scope is agreed, identify what the sample is intended to resolve. It may represent a complete proposed configuration, a particular artwork treatment or another development point. Record included items, charges, timing and revision arrangements in the project discussion rather than assuming they are standard across all hats.
Give the sample a reference name and connect it to the current brief, artwork and quantity matrix. Keep accepted details, requested changes and open questions separate. “Approved colour; revise front logo size” is more precise than “sample approved” when the artwork still needs work.
When a revision is made, name the version and confirm which checks must be repeated. Retain the accepted measurements and artwork position alongside the visual feedback. The sample approval record is a buyer decision tool; it should not be presented as evidence of an inspection standard or remedy that has not been agreed.
10. Send one coherent package and a short introduction
Organize the files so their relationship is clear: the main brief, reference views, artwork revision and quantity matrix. In the introduction, state the starting style or drawing, the intended use, the main fixed requirements and the decisions you want to discuss first. A readable package is more valuable than a large folder of unlabeled images.
Use the Hat Design & Sampling Brief checklist as the canonical short list before sending. It brings together the reference, component materials, measurements, artwork, variant quantities, destination and sample questions.
Ready to discuss your design? Send Your Hat RFQ to Relia Hats, or email drawings and artwork to [email protected]. Start with the information you have, identify what remains open, and use the project quotation and sample review to turn the brief into an agreed specification.