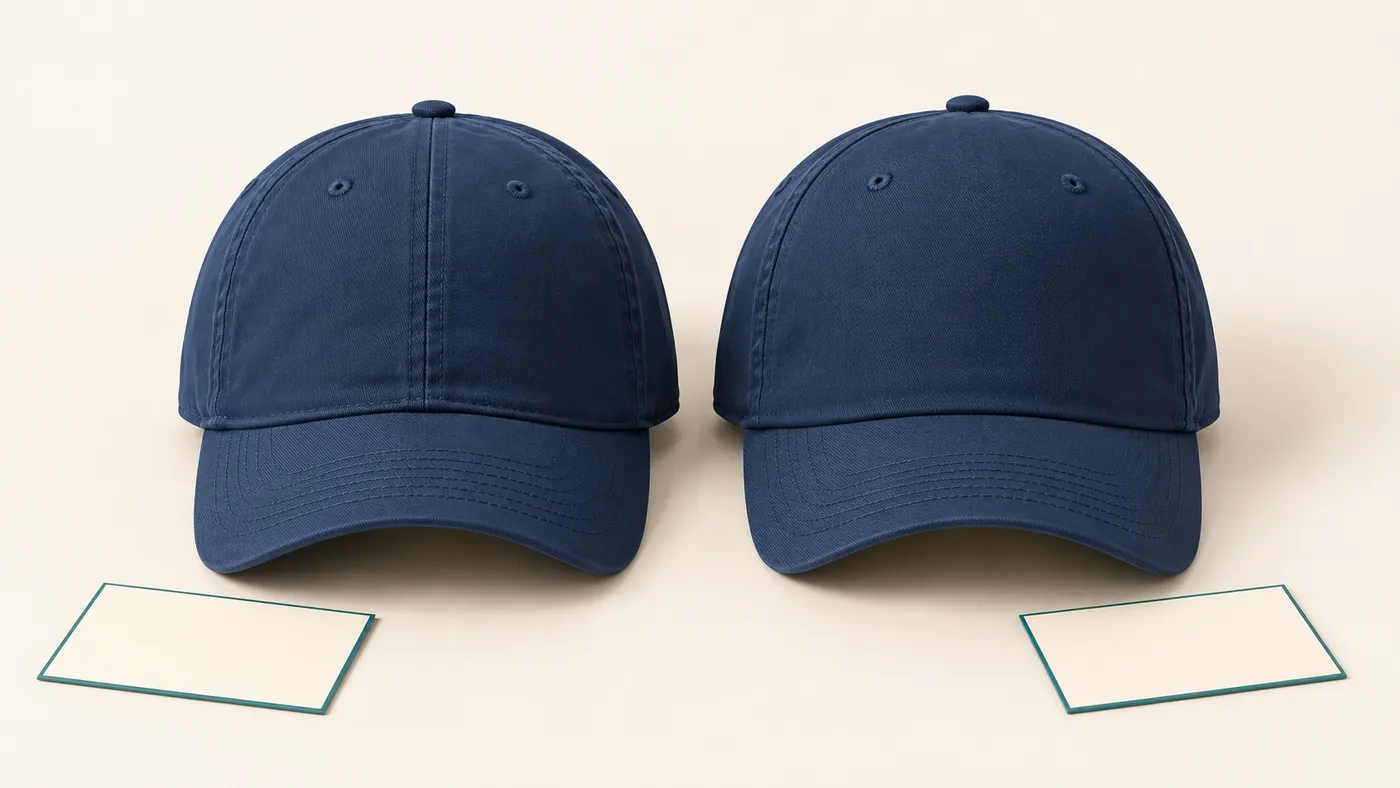
Five-panel and six-panel caps describe a crown construction choice. The number alone does not tell you whether the crown is structured, where every seam falls, which closure is fitted or how your logo will look. For a useful custom-logo brief, compare the actual panel map with the artwork area, then review material, support, brim and fit as separate decisions.
This matters when a buyer is choosing between two attractive catalogue references. A five-panel cap may have the front appearance you want, while a six-panel reference may offer a different crown profile or side-logo direction. The right question is not which number is universally better. It is which complete construction can support the design you want to approve.
Panel count begins the comparison; it does not finish it
A panel description identifies how the crown is divided into pieces. To understand the selected cap, look at the actual arrangement of those pieces, their joins and the shape they create. Ask for the views needed to connect the front with the sides and rear, rather than counting only the seams visible in a single photograph.
For a logo project, mark the intended artwork area on that layout. If a five-panel reference has a broad front area without a visible central join, it may give your designer a different starting canvas from a cap with a join through the proposed design. That observation should remain attached to the specific reference. It should not become a promise that every five-panel cap has the same front construction.
Likewise, do not assume that every six-panel cap has identical proportions. Crown depth, front height, seam positioning and support can vary. Use the panel count as an entry in the brief and accompany it with a marked reference image or drawing. The construction guide shows how panels fit into a wider crown, brim and closure specification.
Use real catalogue contrasts to ask better questions
Relia Hats catalogue references illustrate why a panel label needs context. One reference is a structured five-panel polyester/cotton baseball-cap design with custom 3D-logo scope. Another is an unstructured six-panel canvas dad/baseball-cap design with a curved brim. These are different design directions across more than one variable: panel count, crown support, fabric description and artwork planning all need attention.
The five-panel reference image presents a clear front design area for custom text. The six-panel canvas reference shows panel joins and a curved brim from an angled view. Those photographs help a buyer identify visible shape and seam relationships; the selected sample must still establish actual composition, support, measurements and decoration.
A separate five-panel mesh camp-cap reference includes digital or puff printing and machine or 3D embroidery as customization directions. A six-panel canvas/mesh trucker reference instead identifies a left-panel embroidered-logo direction. This is a practical reminder that the intended logo position can matter as much as the panel number. A side-logo brief should not automatically inherit the dimensions or method chosen for a front logo on another cap.
Browse the Baseball, Dad & Camp Cap references and the Trucker & Mesh Cap references with these separate questions in mind. Treat a catalogue design as the starting point for the selected project, not as proof that every variation shares its construction.
Compare the seam map with the logo at its actual size
Put a scaled version of the logo over the intended area. Identify whether letters, fine lines or edges meet a seam, approach the brim join or extend onto another panel. This makes the discussion concrete: the supplier can see the relationship you want reviewed rather than interpreting a general request for a “large front logo.”
State width and height separately, identify the measurement units and mark distances from agreed reference points. If a design is positioned by eye in a digital mock-up, explain that it is a placement proposal. Ask for the dimensions and clearances to be confirmed on the actual construction.
For a hypothetical comparison, imagine a wordmark crossing the centre of the front area and a small symbol placed on the side. The front wordmark needs a review of seams, curvature and the intended decoration method across its full width. The side symbol needs a separate check of its panel area, nearby mesh or openings and internal backing contact. Approving one does not automatically approve the other.
The aim is not to eliminate every seam from the design. It is to make the seam relationship an explicit approval point. A design may be repositioned, resized or developed through another decoration direction, but that choice should be visible in the artwork brief and the resulting sample.
Check structured and unstructured crowns independently
Structured and unstructured describe another part of the cap's construction. Do not use five-panel as shorthand for structured or six-panel as shorthand for unstructured. The catalogue examples above show why those shortcuts would confuse a project: the desired crown support must be named and reviewed separately from its panel count.
Explain the crown profile and the appearance you want when the cap is worn. Ask about the support, lining and band in the selected design, and inspect the completed sample rather than relying only on a front photograph. If your artwork covers a supported area, review the decoration with that actual construction in place.
Also consider how the crown depth and brim relate to the logo. A drawing may place the artwork relative to the front height, while the worn cap presents a curved surface. The sample review should bring those views together. Keep accepted shape, support and artwork position in one record so a later change in construction does not silently alter the approved appearance.
Material and surface can change the decoration discussion
Fibre composition and fabric construction are distinct. Polyester/cotton identifies a material reference; canvas, mesh, terry or corduroy describes other aspects of the surface or construction. Ask for component-specific composition and inspect the actual texture, thickness and finish around the artwork area.
This is especially useful for a trucker or mesh design. Identify which areas are mesh and what supports the chosen logo position. A front fabric panel, a side mesh area and an internal band should not be treated as interchangeable surfaces. On a perforated cap, mark the openings and their clearance from the design and backing.
Use the intended fabric in the artwork proof. A digital image can explain the proposed composition, but it does not establish the final thread, printed colour, patch edge or contact on the finished hat. If the material or surface finish changes after an initial approval, identify which aspects of the decoration need review again.
Choose the decoration route for the complete design
Direct embroidery
For direct embroidery, specify thread colours, design dimensions, density, backing and the intended stitched appearance. If a raised or 3D effect is requested, add the desired profile as an approval point. Review the design near seams and openings and inspect the inside contact, especially when more than one logo location is included.
Printed artwork
For a printed direction, identify the selected process and the actual substrate. Approve colour, coverage, dimensions and application proof together. A request for a digital, transfer, puff or other effect should describe the desired appearance, but it should not assume that the same process will suit every material and panel area.
A patch logo
A patch adds a component with its own material, shape, edges, backing and attachment. Decide whether it is woven, embroidered, rubber or another agreed construction. Review how it follows the crown or brim surface and where its edges sit relative to panel joins. A patch is not automatically a solution to every seam or artwork problem; it needs its own sample approval.
The Hat Logo & Artwork Options guide compares these routes in more detail. Keep the selected route attached to the exact cap reference and artwork revision rather than copying a method name from a different product.
Review closure and fit without inferring them from panel count
Five-panel and six-panel do not identify the rear fastening. Check whether the chosen cap has snaps, a buckle, another adjuster or a fitted construction, and inspect the actual arrangement. A style description or one photograph may not provide the complete answer.
Record adult or other intended wearer requirements, finished circumference, measurement method and tolerance. If the ordering option is One Size or Custom Size, ask what measured fit applies to that configuration. Several separate circumference references should remain separate until the relevant one has been assigned; they should not be merged into a larger assumed adjustment range.
On the sample, review crown depth, band contact, fastening engagement and retention with the artwork in place. The design team may focus on the logo, but the buyer is approving a wearable hat. Fit and decoration contact belong in the same review, even when different people within the buying team assess them.
Create a comparison board that changes one decision at a time
When two proposed caps differ in panels, fabric, support, brim and closure, a simple five-versus-six label hides too much. Make a comparison board with separate rows. Identify what is fixed, what varies and what needs sample confirmation. This helps the team understand why a preferred appearance may come from several construction choices working together.
| Comparison point | Question for each selected reference |
|---|---|
| Panel layout | Where are the actual joins around the artwork? |
| Crown support | What structure and profile are being approved? |
| Fabric and components | Which composition and surface belong to the logo area? |
| Brim | Which curve and dimensions define the intended shape? |
| Rear and fit | What fastening and measured size apply to this cap? |
| Decoration | Which process, dimensions, colours and backing are included? |
For a clearly hypothetical design exercise, a team could first compare two panel layouts while keeping the wordmark and intended front position constant. After choosing a layout, it could review fabric and support, then settle closure and measured fit. This is a buyer planning sequence, not a promise that every construction is interchangeable or that every alternative can share one sample.
Approve the complete cap and the current artwork revision
Give the reference, drawing, artwork and sample a clear revision identity. Record accepted details separately from requested changes. If the team approves the crown shape but asks for a smaller front logo, keep both decisions visible rather than labeling the entire sample approved.
A subsequent change to the panel layout, support, material or artwork position should trigger a discussion of what needs to be checked again. Keep the accepted dimensions and placement alongside the approved visual reference. Where multiple colourways or sizes are included, identify which configurations the approval represents and which remain to be reviewed.
Use the artwork and sample approval checkpoints to connect the final decision to the project specification. Any sample charges, revision arrangements, minimum quantities and timing are confirmed for the selected project; panel count alone does not establish those terms.
Bring a construction question into your next inquiry
A useful inquiry can be concise: name the preferred cap reference, show the current logo, give the intended dimensions and location, and identify which construction choices you want to compare. Add material requirements, intended fit, quantities by configuration and destination so the discussion has a business context.
Relia Hats is a China-based custom hat factory working from customer requirements or drawings, customer-specified materials and customer logos. Discuss Your Cap Construction, or send reference views and artwork to [email protected]. Start with the cap you want to develop and the decisions that matter to the logo; use the panel number as one clear specification field within that complete brief.